- Click My domains in the navbar and then click your domain name.
- Click the DNS tab
.
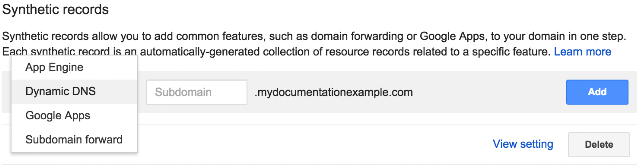
- Scroll down to Synthetic Records.
- Select Dynamic DNS from the list of synthetic record types.
- Enter the name of the resource you plan to have assigned a Dynamic IP, either a subdomain or @ for your default domain (“root domain” or “naked domain”).
- If you selected sub-domain, enter the name of the subdomain.
- Click Add.
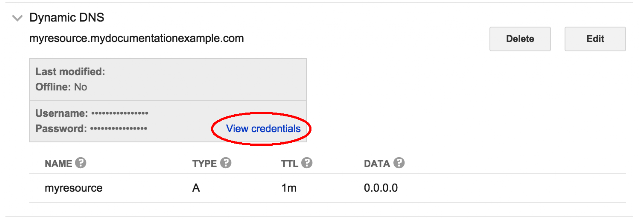
- The Dynamic DNS record is created in your list of synthetic records. Click the expand triangle to the left of the record to view its values.
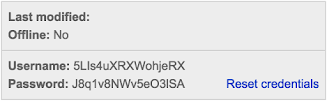
- Click View Credentials to view the user name and password created for this record.
- Note the username and password created for the synthetic record. You will need these to configure your gateway or client software to contact the Google name servers.
- You can edit or delete the record with the Edit and Delete buttons next to the record.


Tip: Directing a wild card (*) to a dynamic resource:
While you cannot use a wildcard in a Dynamic DNS record, you can direct a wildcard to your naked domain or a particular subdomain with a CNAME record.
- Create a Dynamic DNS record for your naked domain using @ (@.example.com) or for the subdomain you want your wildcard redirected to.
- Create a CNAME record redirecting * (the wildcard) to your naked domain or subdomain. See Resource records for help with creating a CNAME record.
I love this. Keep it coming. I need more and to keep it simple.
ReplyDelete